
To use the PayPal REST API payment method on the website, it is mandatory to have a PayPal Business account.
You can check this requirement through the following link: https:/developer.paypal.com/api/rest/
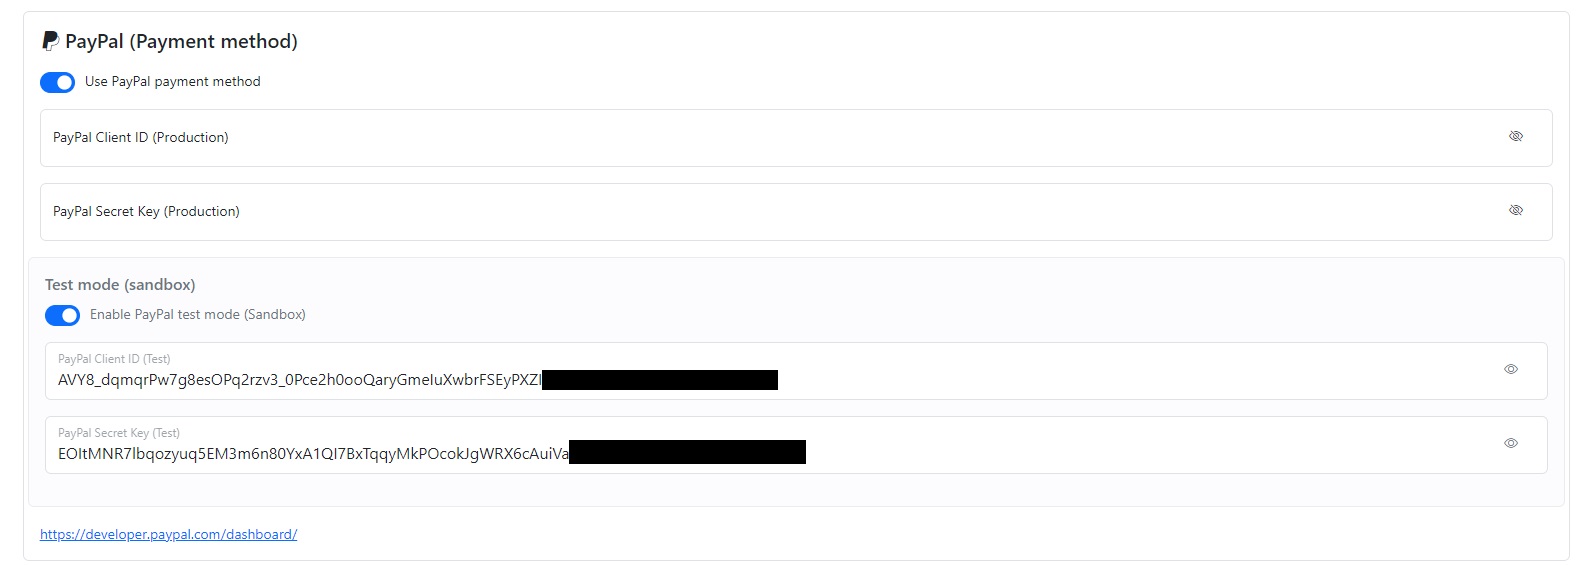
To have access to the PayPal payment method on the website, you need to make some configurations by going to your administrative system under Settings -> API Keys -> PayPal (Payment method).
Firstly, check the "Use PayPal payment method" option. This will make the PayPal payment option appear during package purchases.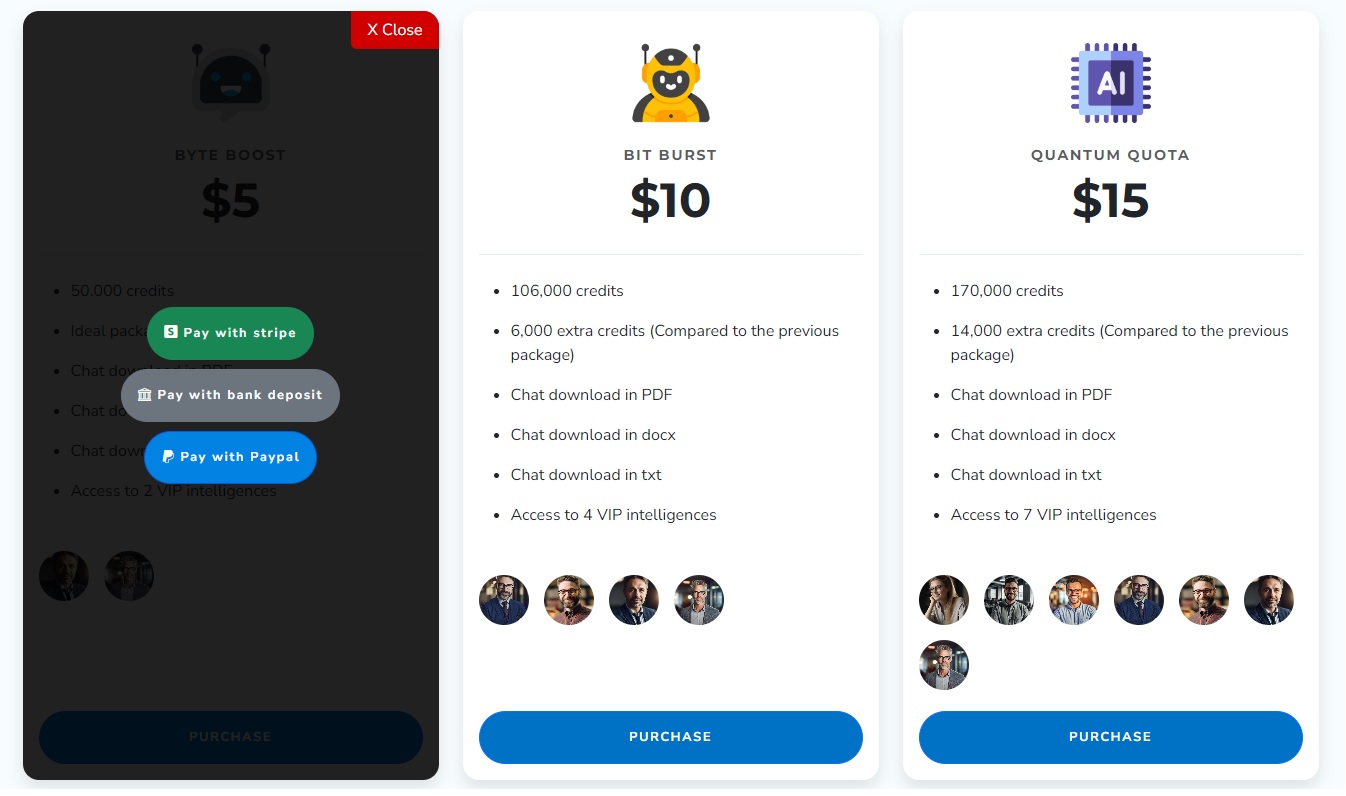
Next, check the "Test mode (sandbox)" option. This will allow you to perform checkout tests before going into production mode.
.jpg)
Note: You can translate the label of the button "Pay with PayPal" by accessing the "Translate" option in the administrative menu and editing your language settings. Then, look for the Price Page guide.
The next step is to access the PayPal developer page and retrieve the credential keys. To do this, please visit the following link using your PayPal Business account:
https:/developer.paypal.com/dashboard/
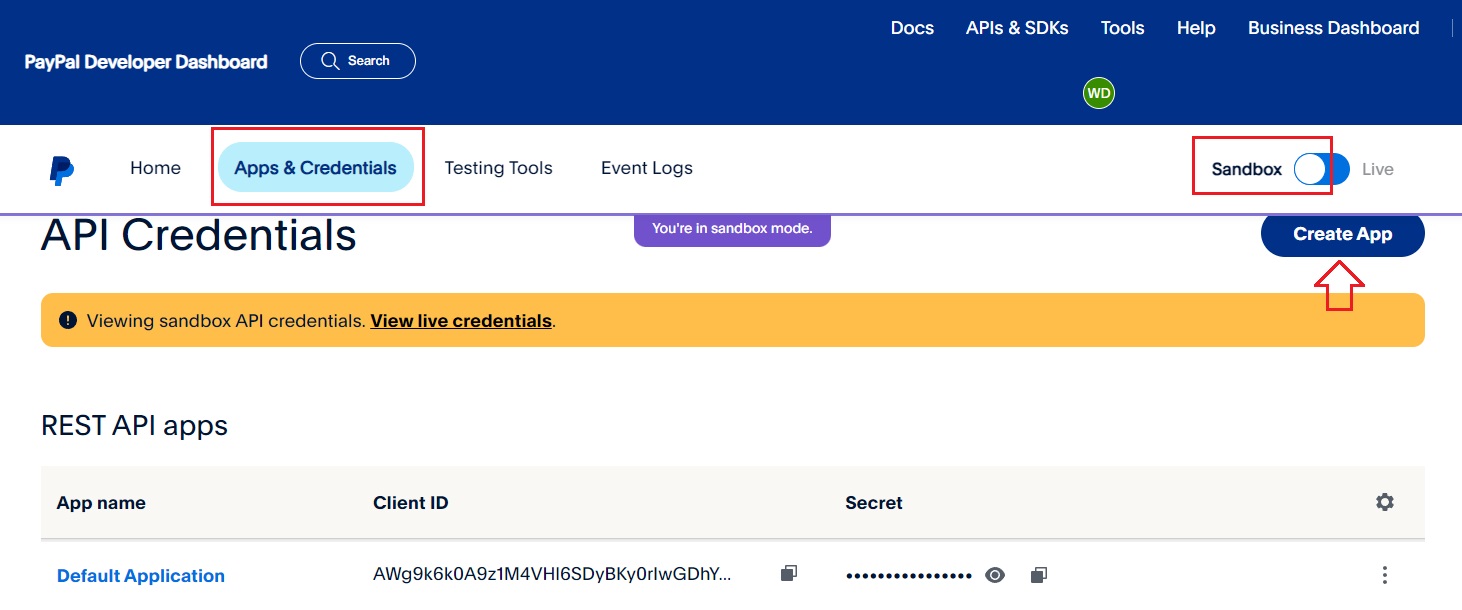
After logging in, ensure that you are in "Sandbox" mode, which is the testing mode for PayPal. Then, click on the "Apps & Credentials" option and proceed to click the "Create App" button.

Give your application any name you like.
In the options, select the type "Merchant."
Then, click on the "Create app" button.
Next, copy your Client ID and Secret Key 1

Paste these credentials into the administrative system, in the PayPal Sandbox fields.
Afterward, remember to save the changes.
Once the credentials have been configured, it is necessary to inform PayPal of the webhook URL.
This URL will correspond to a page in our system to which PayPal will send transaction notifications.
To create a sandbox webhook within the application we have created, follow these steps:
Scroll down to the bottom of the page and click on the "Add Webhook" button.

Next, fill in the "Webhook URL" field with the URL of your webhook, which would be the address of your site followed by "/paypal-webhook.php".
For example, on our test site, we use:
https:/aigencytest.polartemplates.com/paypal-webhook.php
Remember that your server must have HTTPS (SSL) enabled for the URL to be valid.
After that, select all the options related to the "Checkout" event and click on the "Save" button.

Next, the configuration of the test sandbox mode is complete, and now we need to test payments.
PayPal provides specific accounts for testing in the sandbox environment, and you should use them.
To create a test buyer account, access the "Testing Tools" menu and then select "Sandbox Accounts." Click on "Create Account."

When creating a new account, choose the "Buyer account" option and then select the region to which this account belongs. Please note that if your PayPal account is configured in the region of Brazil, for example, you may not be able to receive payments from clients with accounts from the USA, and vice versa. So, make sure to select the compatible region based on your location. Then, click on "Create Account."

Next, click on the "..." icon corresponding to the account you created and select the "View/Edit Account" option.

Then, you will have access to the data of a test account. You should use the email and password shown here to simulate a purchase on your site using the PayPal payment method.
Additionally, you have the option to modify the account name and balance as well.

Next, access your website and go to the pricing menu.
Select a package and proceed to make a purchase using the PayPal payment method.
If everything is set up correctly, you will be redirected to the PayPal payment page.
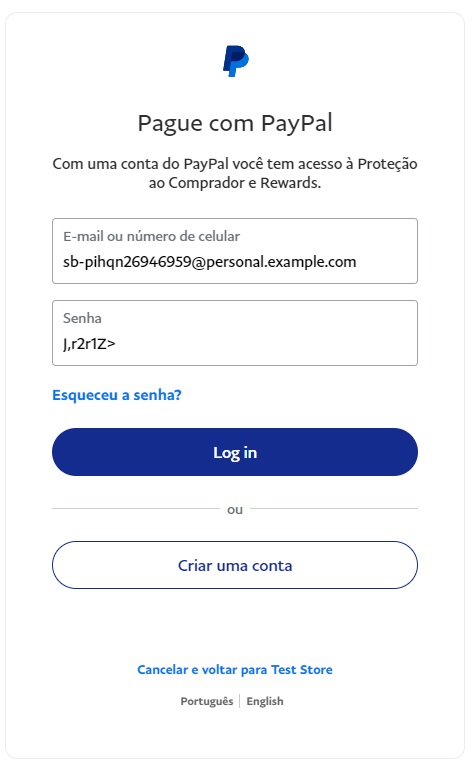
At this point, use the test email and password that you created in the PayPal sandbox account panel to proceed with the simulated purchase.
To simulate a Paypal payment, use the following details:
Email sb-pihqn26946959@personal.example.com
Password J,r2r1Z>
Select any of the valid payment methods available for your account (which may vary depending on the country), and if everything goes smoothly, you will be redirected to the website, and your purchase will be approved.


With this, your PayPal sandbox is now functioning, and you can proceed to enable the keys in production mode.
In your dashboard, uncheck the "Enable PayPal test mode" option and save the settings. Now, you will be using PayPal in production mode. However, you need to provide the PayPal Client ID and PayPal Secret Key.
To do this, go to your PayPal dashboard and activate the "Live" mode.

Next, follow the exact same process you did at the beginning of the tutorial, but this time in the production environment. Create an application, retrieve the keys, and enter them on your website. However, in this production environment, you will not need to create test users. Instead, you can use real PayPal users and perform real payment transactions using credit cards or PayPal balance. It is essential to note that you cannot make purchases from yourself. Therefore, when testing payments, log out of your main PayPal account and use or create another account for testing purposes.